Wattle Blossom felt sewing kit tutorial
Here is the online photo tutorial to accompany the written instructions for making the Wattle Blossom branch. Read through the written instructions first, then take a look at the images here.

In this image, on the left hand side are the contents of your kit and on the right are the supplies that you will need to help make your project.

Step 1: Cut out your paper pattern pieces with the paper scissors, pin them onto your felt sheet and cut them out carefully with the fabric scissors.

Leaves : Step 2: Pin the two pieces of each leaf together and sew using a whip stitch.

The very top of the leaf is left unsewn or open. A line of running stitch or outline stitch is sewn down the length of the leaf using the Finn wool to look like the leaf vein.

Wattle Buds Step 3: The two layers of yellow circles are sewn together with a ‘starburst’ of stitches. The wattle buds are a mix of yellow tones in varying sizes.

Fluffy Blossoms: Step 4 - The card is cut to size and the Finn embroidery wool is wrapped around and around the card. It is then tied off with thin cotton thread in a double knot and the ends of the thread are left long.

Slip your scissors under the threads on your card and snip through to make the Blossoms.

Branch and Steps: Step 5 The one pipe cleaner is left long whilst the other is cut down to size. Use the diagram in your Instruction sheets to help get the correct size. On the right hand side is the finished branch shape.
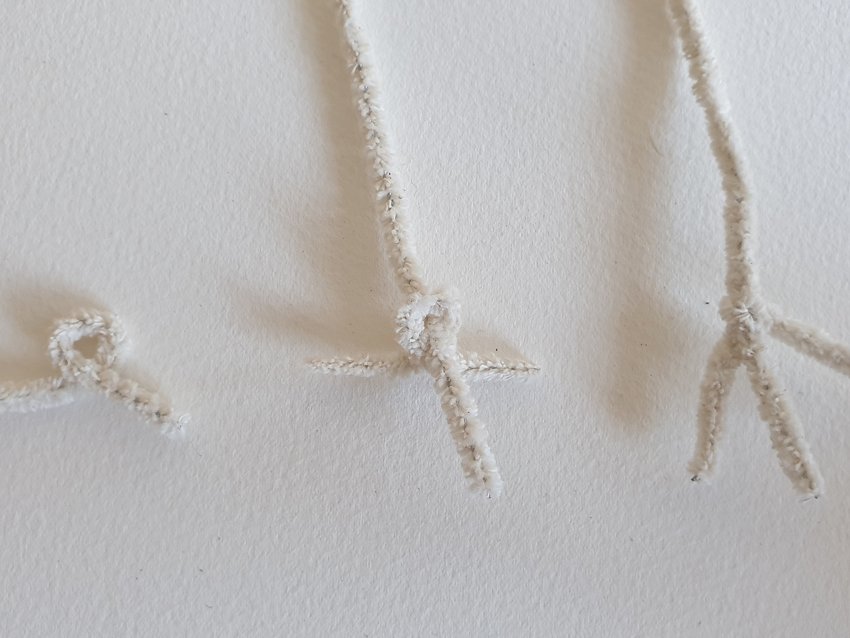
A detail shot showing how to make the three-pronged fork (or chicken feet!)

6: Wrapping the pipe cleaner in the Finn wool is a slow step. Start at the end of a “chicken foot” and work upwards towards the join. Then travel down the next toe with a few wraps of your thread and slowly wind back up, covering the pipe cleaner as you go.

Here you can see the very end of the stem which is wrapped a little thicker to hide the white of the pipe cleaner.

Assembling: Step 7 Lay the branch on a table and sit the Leaves, Buds and Blossom on the Branch in different layouts to see what looks best.

Thread your needle using the long tail on your leaf and sew it onto the branch. Repeat with the other leaves, then the Wattle Buds and finally the Fluffy Blossoms.

The finished Wattle Blossom branch.