Habitat Log felt sewing kit tutorial
Step-by-step Instructions: If you are looking for a little extra help in making your Habitat Log kit then you’ve come to the right place.
Let’s get started! Read through the instructions first to get a bit of an idea of what you’ll be doing, before you jump in.
Cut your paper pattern pieces out neatly with the paper scissors. Place the pattern pieces on top of the felt, lining it up very close to the edges to not waste too much felt. Pin the paper pattern onto the felt to secure it in place. You can either trace the pattern onto the felt with a pencil or a thin marker and cut using your fabric scissors, or, slowly cut the piece directly around each pattern piece without tracing. If you have drawn on your felt, make sure that this is the inner side or wrong side of your work, so you don’t see the marks. Only cut through one layer of felt at a time.

Let’s start by making the LOG: Sew long sides of Log trunk together by folding it lengthwise. I use a whip stitch in the pictured example below. You now have a tube.
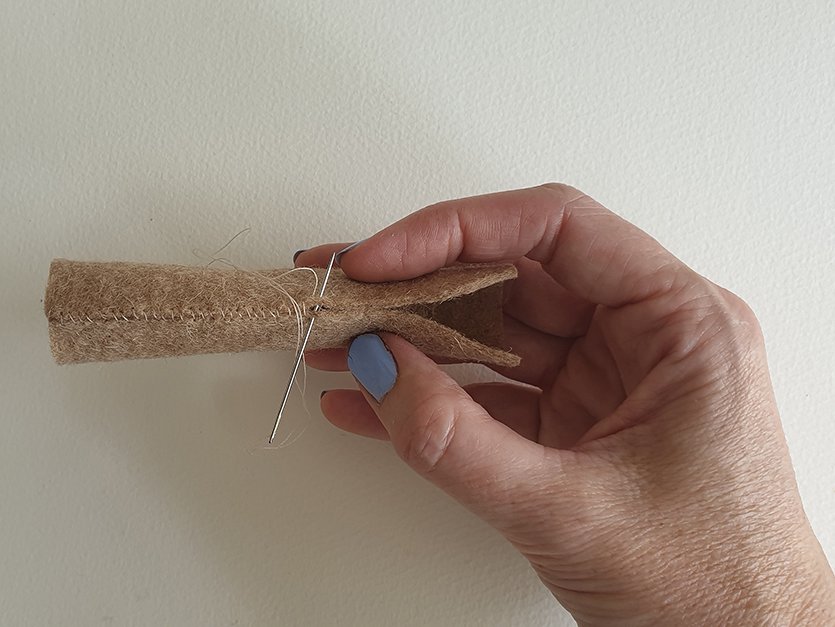
At the thinner end, sew circle Log End B to the end of trunk. Note: You can see in the photograph below that I have sewn on concentric circles to the log ends, with brown embroidery thread to mimic growth lines on a tree. Do this before you sew them onto the trunk.
Tear off small pieces of the woollen stuffing and push gently down into the trunk. You can use a pencil or your finger to poke it right in. Keep pushing small pieces in at a time until the log feels firm to the touch.
Now sew the Log end A to the wide end of the Log trunk.
Fold the Log Branch lengthwise and sew the two long sides together. Sew the Log end C to the narrow end of the branch. Tear off the woollen stuffing and fill the branch, like you did with the trunk.

Lay the Log Trunk flat on a table and using pins, position the Log Branch on the side of the trunk, where you think it works best. Try to allow the branch to lean out and touch the table so that it becomes a more stable shape when attaching the fungi later. Pin and sew the branch to the trunk.

Now it’s on to the SHELF FUNGI: (Optional: You can decorate the Top side of your Shelf fungi if desired with stitches of your choice. In the example photographed, I chose an outline stitch that followed the outer edge of the fungi.)
Sew the Top side and the Underside together, by sewing around the edges with a whip stitch.

Repeat with second Shelf Fungi. Pin and then sew the larger fungi below the smaller fungi onto the Log wherever you would like it to be. There is no right or wrong position to attach your Shelf fungi (or the Tall Fairy Toadstools) to the Log…. Just choose a spot that you think looks the best.

Next it’s time to make the TALL FAIRY TOADSTOOLS: Your pipe cleaner has already been folded in half, then each end folded down in half once more to meet in the middle.
Your job is to twist each of the two halves to make it into two solid lengths/stems.

Optional: You can tightly wrap the pipe cleaner in yarn if you would like it to be a different colour or try colouring it in with a Texta, like I did.

Curve the Tall Fairy Toadstool top, or the TFT Top piece into a cone shape and sew the side seams together.
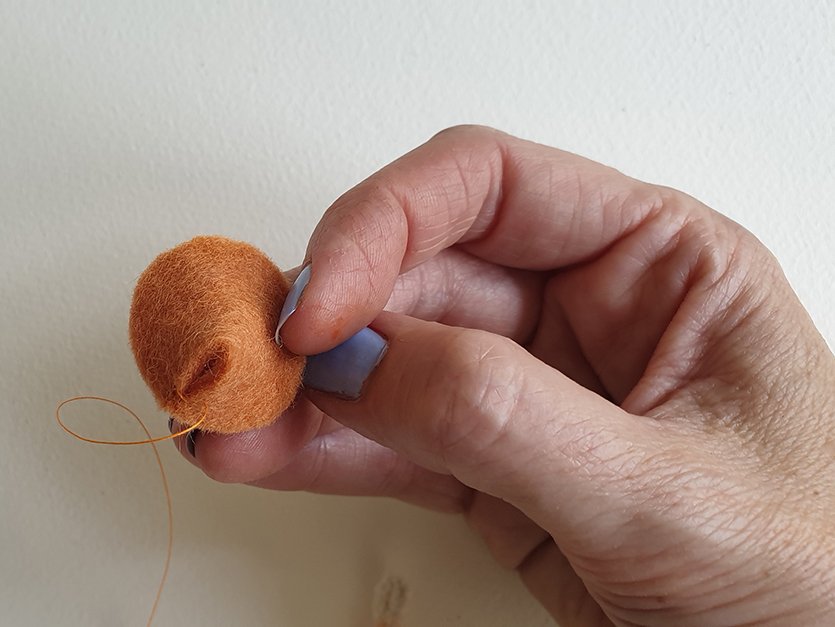
Make a small hole in the centre of the TFT Underside piece with the end of a scissor blade.

Push the TFT Underside piece down firmly onto one of the ends of the pipe cleaner and sew it securely into place.

Now sit the TFT Top on top of the Underside and push a little ball of wool stuffing in between the two pieces, pin it into position and sew the Top to the Underside with a whipstitch around the outer edges.

Optional: You can add some stitched lines from the stem to the outer edge of the cap underside to look like gills if you desire, like I did below.

Repeat above steps to make the second Tall Fairy Toadstool.
Bend the base of the pipe cleaner to create a little ½ cm curved foot to slide in under the Log and attach up the side of the Log with a few stitches.


And voila! You are finished!
