Solar Dyeing and Campfire Dyeing
Tips on Solar Dyeing
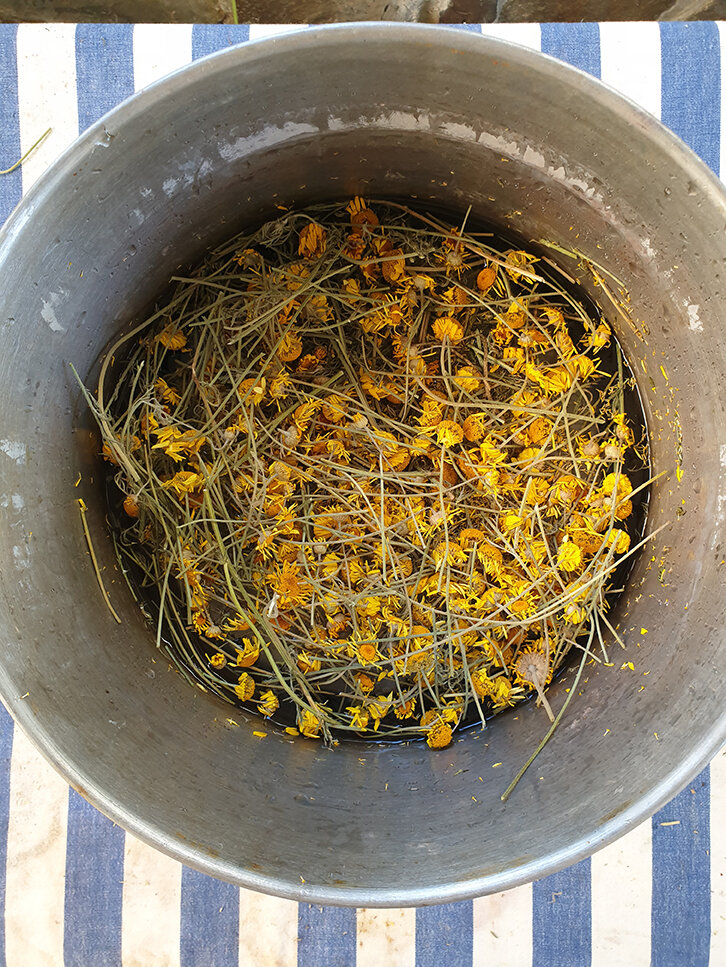
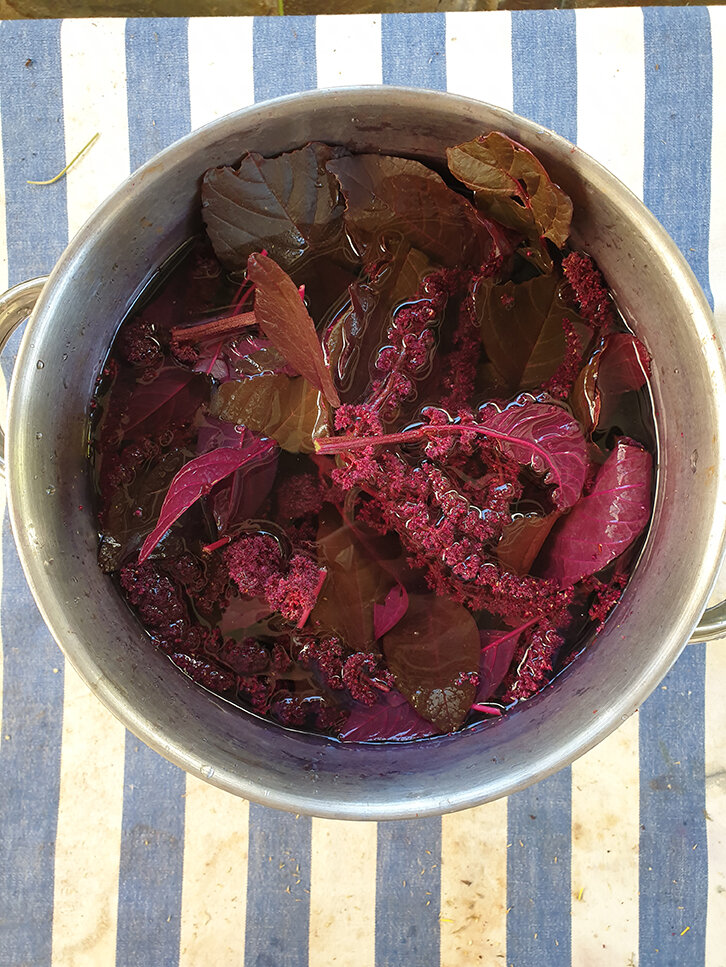
Solar dyeing is a great option to experiment with various plants. It works best with softer leaves, berries, fruit skins, flowers/petals rather than woodier leaves, tough stems or bark. It is a great option for plants that respond well to gentle heats such as the Hopi amaranth, Malabar berries, Madder root, Tansy flowers, Dock leaves or Oxalis flowers.
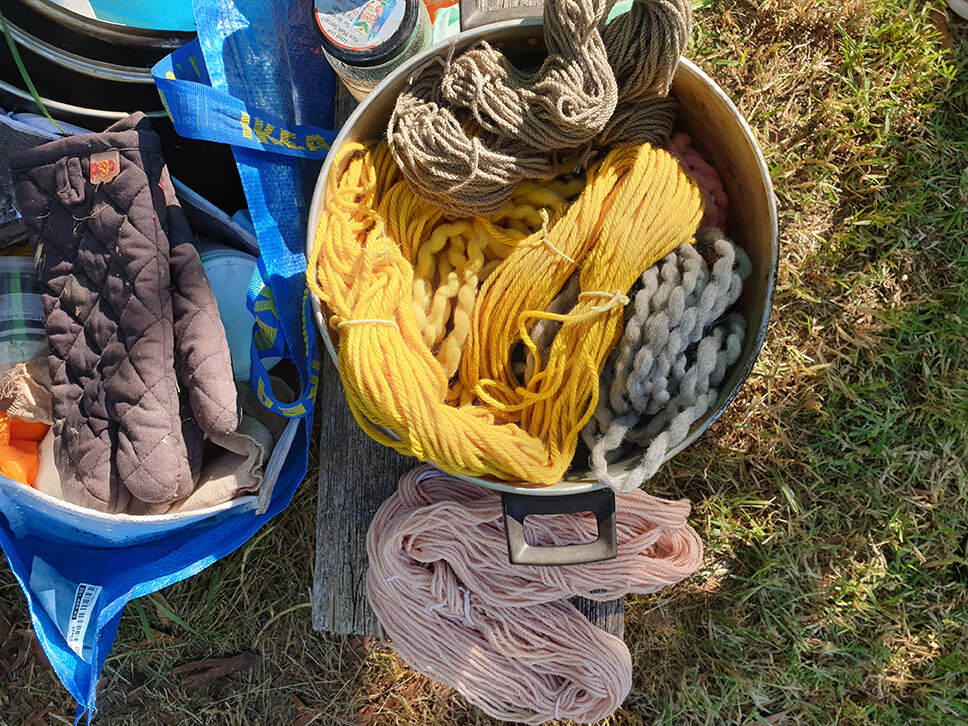
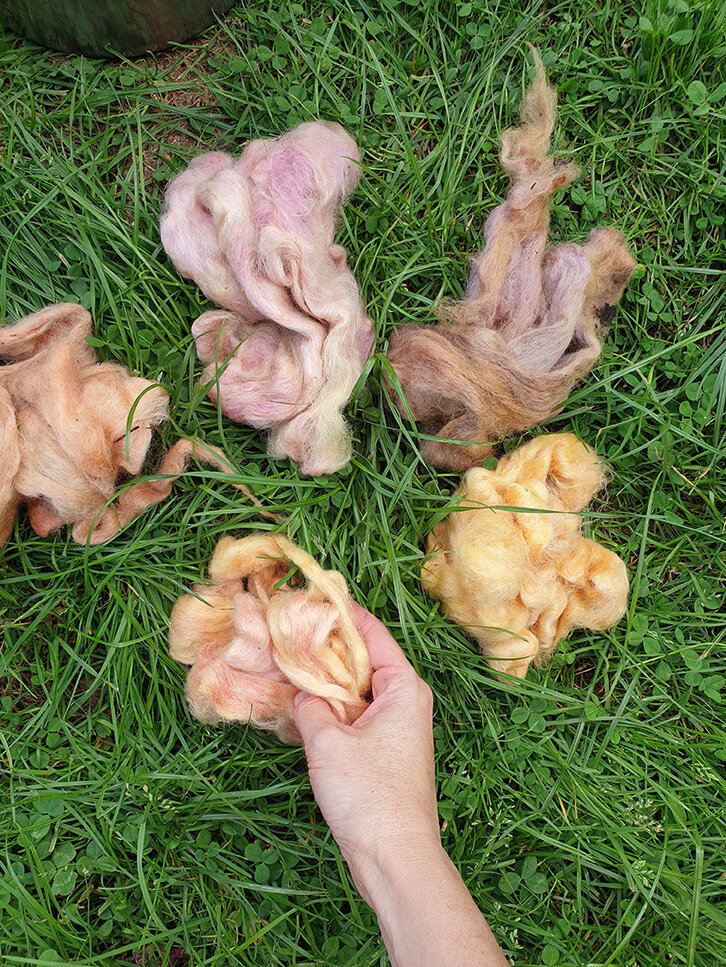
You can either put the plant material in with fresh water and your mordanted, pre-wetted yarn all at the start, or just get the dye from the plant first and then add your yarn. Leave your large pot or glass jar in the sun for a day or so. For me it usually depends on how much space is in my pot as to which way I go. Make sure you keep a lid on your pot or jar to trap the heat in. Give it a stir and check if any colour is coming out every now and then. I stir the pot a couple of times once the yarn is in as the heat seems to warm up at different speeds within the pot, compared to a heated element warming from below on a hotplate/heat source. This can cause the yarn to colour unevenly which can either create a desirable effect or can be just plain irritating. Remember, solar dyeing is great for experimenting!
Solar dyeing is a great process to share with children. They love to check the jars or pots and see the colours slowly being extracted from the plants and magically soaking into the yarn. It is also a safe option as neither stove-tops nor boiling water are involved.
The Australian sun is very hot in summer. I love to leave pots set up whilst I am camping at my dad’s place either in the middle of the lawn or overnight on the coals of our campfire, or during a busy weekend at home when I can let nature do the work for me. I am always surprised at how hot the water gets when I check the pots!
If you don’t get any results within a week, quit your experiment and try the plant again using a stove-top method. Sometimes solar dyeing is too gentle to effectively extract any colour from a plant.